Releasing a version
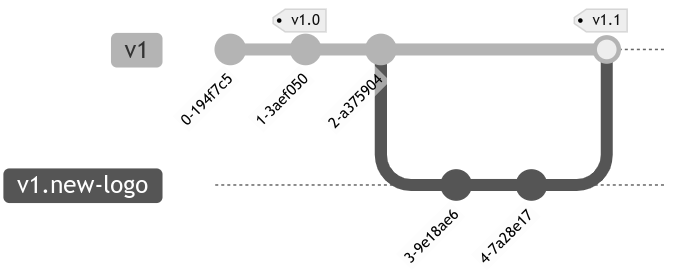
To mark a revision as a new version, all you need to do is tag a commit with version number. The root documentation project scans all projects for these tags and aggregates all versions of all projects that way.
Once the new release is created, make sure to rebuild the documentation website in order for the changes to become visible on the website.
Create a tag for your release

You can create a tag from your IDE or using the git CLI tool, or using the GitHub website which is probably easiest.
Create a release on GitHub
The easiest way to create tags is to create a new release on GitHub. To do this, visit the GitHub repository of your documentation project in your browser and follow these instructions:
-
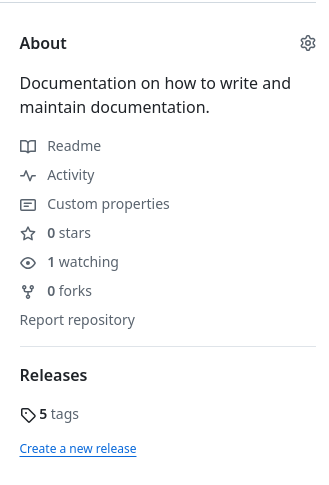
Create a new release by clicking the link at the bottom of the right pane:

-
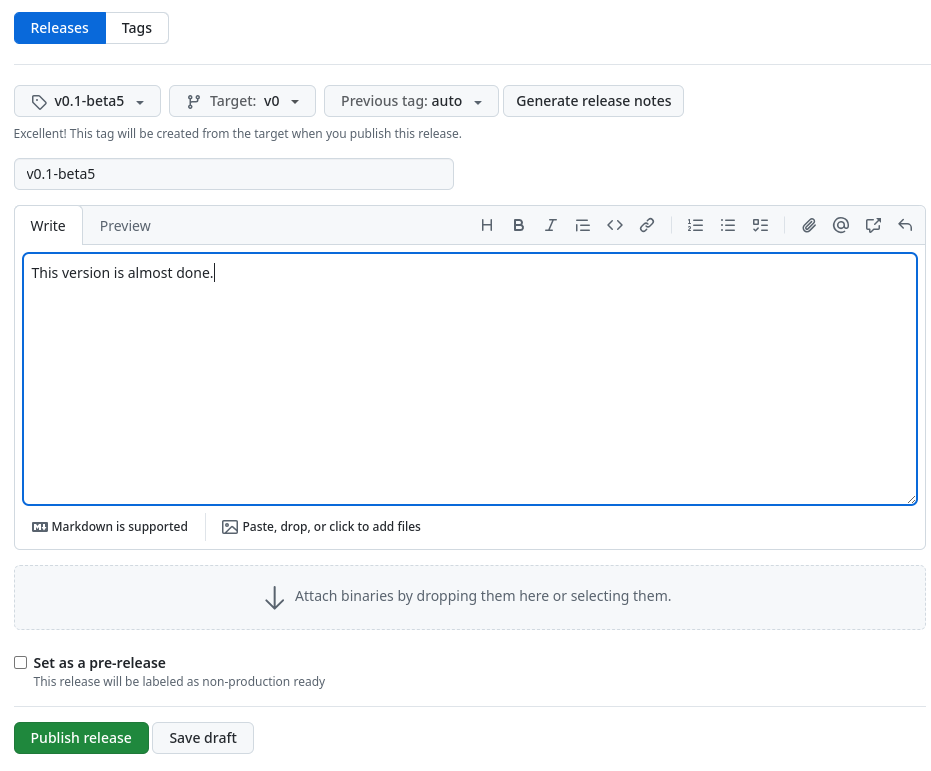
Enter a tag name and click Create new tag.

-
Fill in the version number for the release name, and provide release notes.

-
Note you can mark the release as not ready for production by checking the Set as a pre-release box.
-
-
Click Publish release when you’re done.
You’ve now released a new version of this documentation project. Make sure to rebuild the documentation website to see the new release featured.
| The process diagram speaks of pushing changes, referring to the newly created tag. However, using the GitHub website to create a tag as we’ve done makes this step redundant since it’s already done on the remote repository. |